

 Login / Register
  CATEGORIES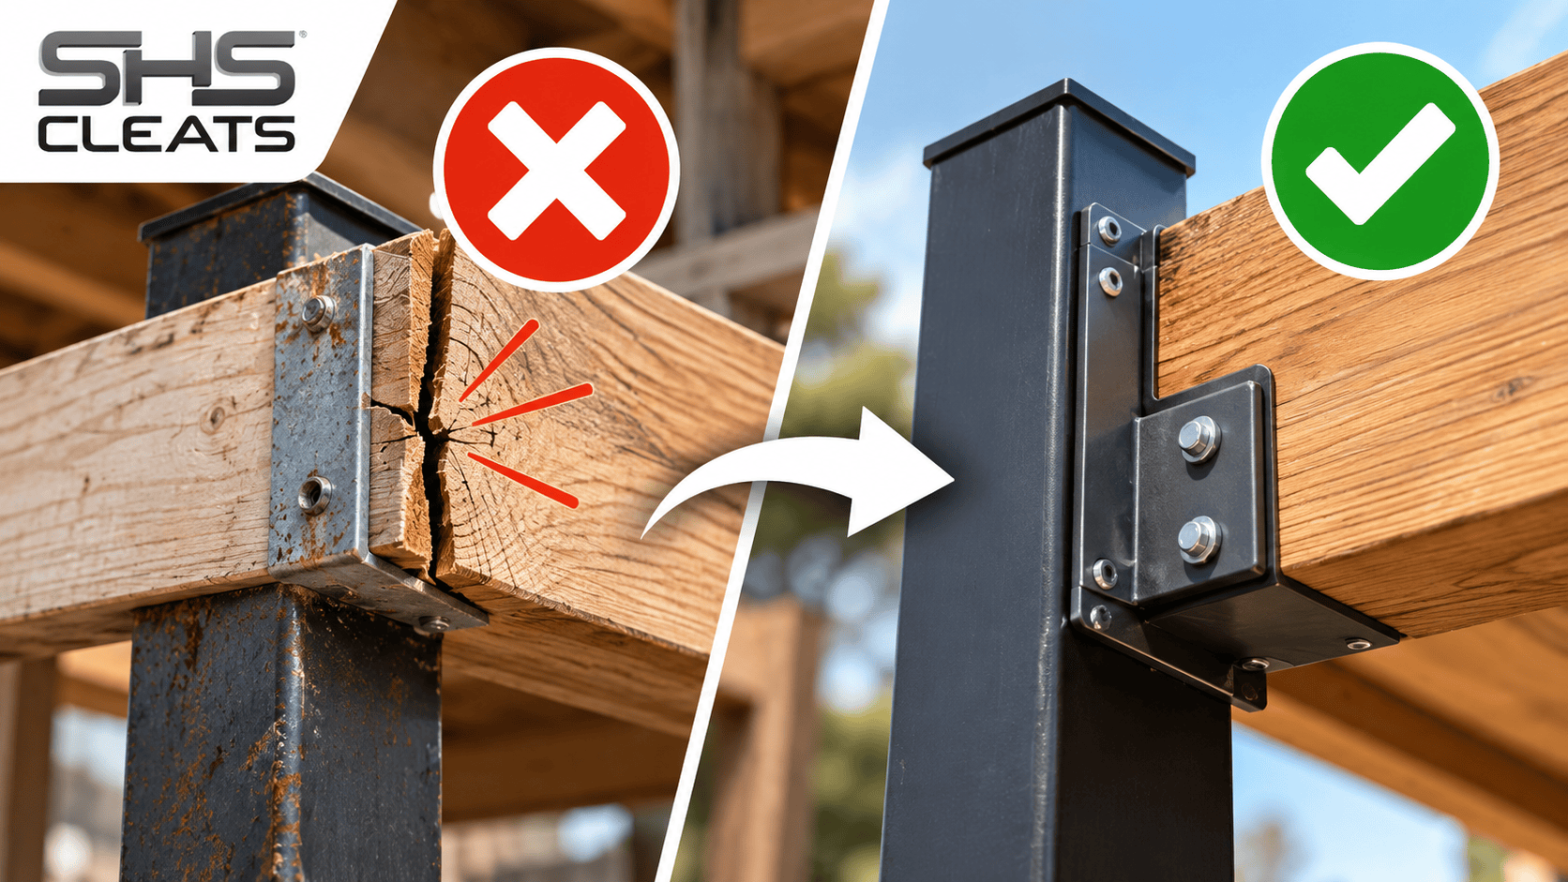
You’ve done this before. The posts come back from the fab shop, you get them on site, and suddenly the beam level is off by an inch and a half. The cleat’s welded. The concrete’s set. And now you’re on the phone with the engineer trying to figure out who’s eating the cost of rework.
It happens on more jobs than most builders want to admit. Connecting timber beams to HSS (Hollow Structural Section) steel posts looks simple on paper — and it should be. But a handful of mistakes keep showing up on job sites across the US, and they’re expensive every single time.
Here are the five we see most often, and what to do differently.
Mistake 1: Locking In Cleat Positions Before You’re on Site
This one costs the most money. The traditional workflow sends bare HSS posts to a fabrication shop, where cleats and baseplates are welded at heights specified in the design drawings. The assembly comes back as one rigid piece — sometimes 12 feet long — and gets trucked to site.
The problem is that design drawings and real-world site conditions rarely match perfectly. Footings settle at slightly different heights. Slabs have minor variations. The beam level on paper ends up 1″ or 2″ off what you actually need on the ground.
When your cleats are factory-welded, fixing this means grinding off the weld, repositioning, re-welding, and re-galvanizing. That’s a half-day of work minimum, and the cost lands somewhere between the builder and the fabricator depending on whose drawings were wrong.
The smarter approach is to use slide-on timber beam cleats that aren’t fixed until you’re standing on site. You slide the cleat to the exact height you need, confirm it against the actual footing levels, then fasten it. No grinding, no rework, no argument about whose fault it was.
Mistake 2: Choosing Post Size Based on the Last Job
A 4×4″ HSS post worked fine for your last verandah build, so you spec the same for this one without running the numbers. It’s a common shortcut — and sometimes it works out fine. Other times it leads to deflection under load, or worse, a structural engineer flagging the connection during inspection.
Post sizing depends on axial load, span, tributary area, and the local building code requirements for your jurisdiction. A deck with longer spans between posts, or one carrying a roof load in addition to the floor, may need a 6×6″ section where a 4×4″ would have been fine on a simpler job.
The fix here isn’t complicated — it’s just discipline. Run the load calculation for each project, or have your structural engineer confirm the post size before you order. The extra 20 minutes saves you from a failed inspection or a structural callback down the track.
Once you know the post size, matching it to the right cleat is straightforward. Our SHS Timber Beam Cleats and Top Plate Cleats are sized specifically for each post dimension from 2½×2½” through to 8×8″ HSS.
Mistake 3: Treating Galvanization as an Afterthought
If you’re building anywhere near the coast — Florida, the Carolinas, the Gulf, the Pacific Northwest — galvanization isn’t a nice-to-have. It’s the difference between a connection that lasts 30 years and one that needs replacing in five.
The issue is that a lot of steel hardware looks galvanized but isn’t. Electroplated or spray-coated finishes have a thin zinc layer that wears through quickly in humid or salt-air environments. Once that coating fails, bare steel corrodes fast — especially at the point where the cleat contacts the post, where moisture gets trapped.
Hot-dip galvanization works differently. The steel is immersed in molten zinc, which bonds metallurgically with the steel surface. The zinc layer is thicker, harder, and self-sacrificing — it corrodes slowly in place of the underlying steel, extending the life of the connection significantly.
All SHS Cleats products are hot-dip galvanized as standard. For projects in coastal or high-humidity zones, that’s the minimum you should be specifying on any exterior structural connection.
Mistake 4: Skipping the Positive Connection Requirement
This one shows up during inspections more than anywhere else. A builder rests a timber beam against or on top of a steel post and fastens it with a single bolt, or sometimes nothing at all — relying on gravity and friction to hold it in place.
Under the International Building Code (IBC) and International Residential Code (IRC), structural connections must resist lateral forces and uplift — not just vertical load. A beam sitting loosely against a post can slide or rotate during a seismic event or high-wind condition. In California, Oregon, Florida, and Texas, building inspectors actively look for this and will fail the inspection if they don’t see a proper positive connection.
What a positive connection actually looks like in practice: the cleat is fastened to the post with tek screws or bolts, and the beam is fastened to the cleat through at least two fastener points. There’s no relying on gravity. The connection resists force from every direction.
SHS Cleats provide four fastening points per cleat face — enough to satisfy code requirements on residential projects without any additional engineering required. Check our installation guide for the fastening specifications by post size and load condition.
Mistake 5: Underestimating the Transport Problem
Pre-welded post assemblies are awkward. A 6×6″ HSS post with cleats welded at mid-height and a baseplate at the bottom can run 12 to 14 feet and weigh 80 to 100 pounds. Getting that into a standard truck, to site, and into position without damage is a genuine logistics problem — especially on tight urban lots or acreage jobs where access is limited.
Builders typically absorb this cost without thinking too much about it. But across a project with 20 or 30 posts, the handling time adds up.
When you use separate components — bare posts, individual cleats, baseplates — everything fits in a standard ute or trailer. Each piece is manageable by one or two workers without equipment. You assemble on site, in position, at the right height. The whole process is faster, and there’s nothing fragile or oversized to protect in transit.
Frequently Asked Questions
Yes. SHS (Square Hollow Section) and HSS (Hollow Structural Section) are the same product — different countries use different names for the same steel section. SHS Cleats are sized to the outside dimension of the post, so a cleat listed for a 100×100mm SHS post fits a 4×4″ HSS post directly. Full size compatibility is listed on each product page.
No. The whole point of the system is that it doesn’t require on-site welding. Cleats slide onto the post and fasten with tek screws or structural bolts. A tek-and-stitch-weld option is available for heavier applications if a welder is already on site, but it’s not required for standard residential connections.
The range covers 2½×2½” (65mm) through to 8×8″ (200mm) — the full standard range for US residential and light commercial construction. Check the individual product listings for configuration options within each post size.
SHS Cleats are engineering-certified with published load tables covering shear load, lateral load, and uplift resistance — which is what building inspectors need to see. Load tables and certification documentation are available on request for permit applications.
How do I choose between Timber Beam Cleats and Top Plate Cleats?
It comes down to how the beam connects to the post. If the timber beam attaches to the side face of the HSS post — like a verandah beam or roof rafter — you need a Timber Beam Cleat. If the timber bearer sits on top of the post — like a floor bearer on a column — you need a Top Plate Cleat. Still not sure? Get in touch and we’ll point you in the right direction.
The Bottom Line
None of these mistakes are hard to avoid once you know what to look for. The biggest shift is getting away from factory-welded assemblies and moving to a system where beam levels are confirmed and cleats are fixed on site — that single change eliminates four of the five problems on this list.
If you’re planning a deck, porch, pergola, or sub-floor framing project using HSS steel posts, browse the full SHS Cleats range — available in post sizes from 2½×2½” to 8×8″, with worldwide shipping.